Wow! What an incredible spring it has been so far! And no, we’re not talking about the weather! We’re talking about the many many many new vegetable gardeners we have in Canada this year! Hello and welcome to the club!
Growing your own food is super rewarding but the first year can be tricky because there’s a lot to learn. Even well-seasoned gardeners face challenges when they grow in a new space. Last summer, OSC had the pleasure of working with the Kitchener Public Library [KPL] to establish a vegetable garden in their courtyard. It was a huge success! So we’re using that experience to walk you through your first growing season. We want you to have the satisfaction of setting your table with home-grown produce. There’s nothing quite like it!
If you’re new to vegetable gardening or just back after a hiatus, this is a good place to start! If you’re a seasoned grower, please leave your tips in the comments below to help our newbies get the most out of their efforts this year!
Let’s go!


^ Here is the KPL courtyard garden just after the seedlings were transplanted… [KPL courtyard garden 2019]

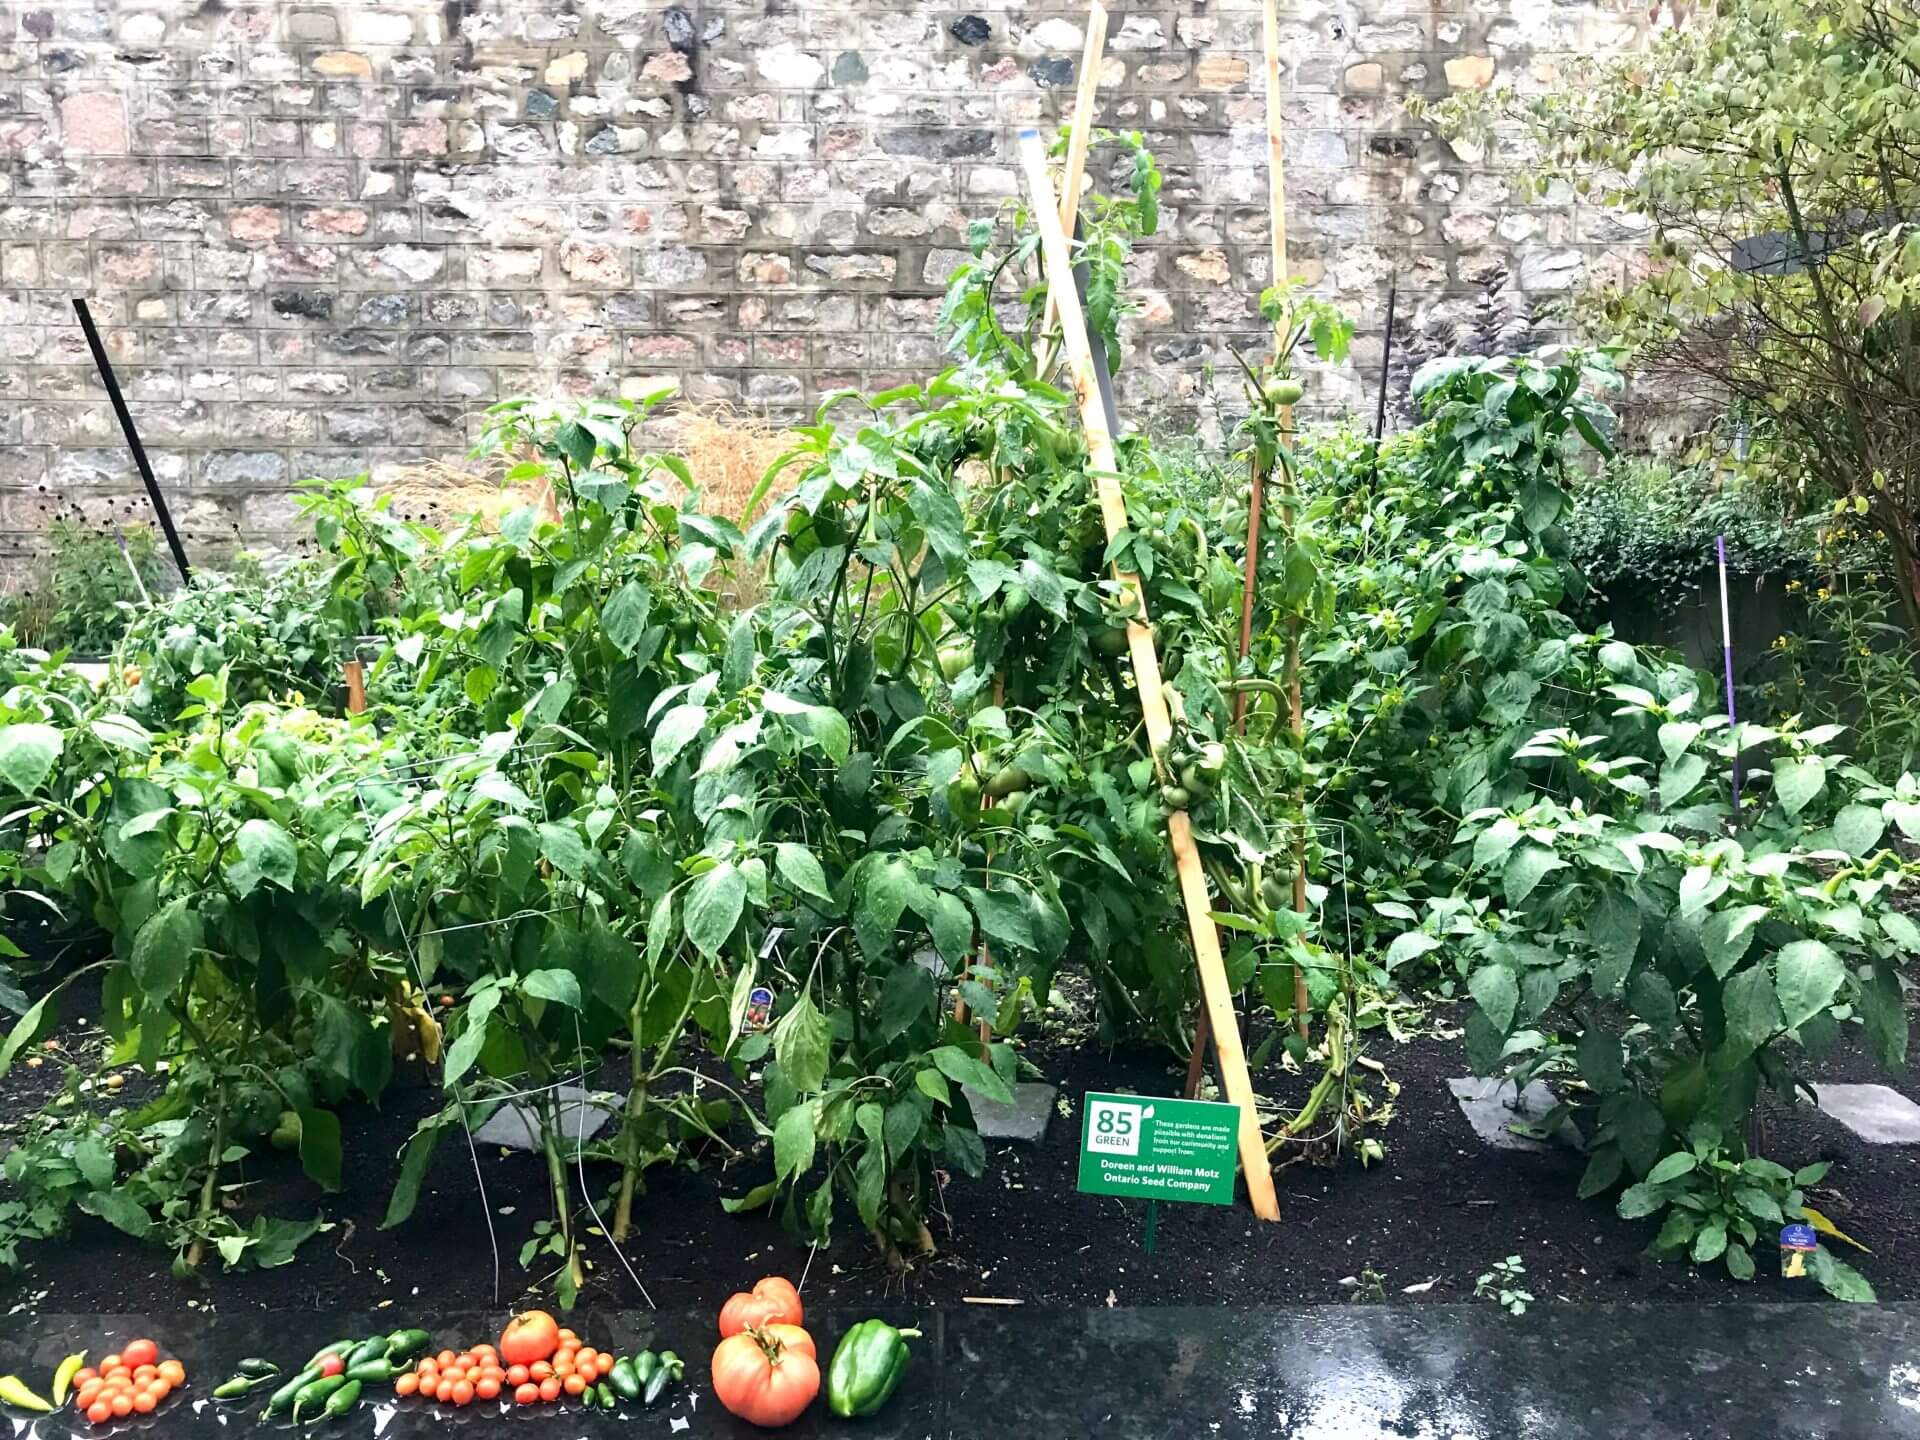
^ … and here is the same shot a few months later! Thanks to good weather, consistent effort, and a little luck, the garden was a success in its first year. [KPL courtyard garden 2019]
In this post you will learn about:
- PREPARING FOR THE SEASON
- getting to know your space
- making a garden plan
- preparing the area
- THE GROWING SEASON
- how to water
- monitoring for signs of trouble
- enjoying the process
- HARVESTING
- OSC STAFF “TOP-TIPS” FOR STARTING A VEGETABLE GARDEN
Want to learn more? Check out these other posts:
PREPARING FOR THE SEASON
> getting to know your space
Before planting your garden, you’ll want to get acquainted with the space. Most importantly, how many hours of direct sun does the area get per day? The amount of sunlight will directly influence what you should grow in the area. Seed packets will usually specify the amount of sun needed and this must be factored into your plans.
For vegetables:
“Full sun” means 8 or more hours of direct sun per day
“Partial sun” means 6-8 hours of direct sun per day
“Shade” means 4-6 hours of direct sun per day
When you know how much sun your space has, choose varieties that are suited to those conditions. This is an easy way to set yourself up for success right off the bat!

The courtyard at the KPL has full sun and high stone walls that trap heat. We selected crops like Tomatoes, Peppers, and Zucchinis which love these conditions. [KPL courtyard garden 2019]
> making a garden plan
After you’ve figured out the conditions in your garden, it’s time to decide what you’ll be planting. Making a garden plan is a great way to optimize your space and loosely schedule sowing and harvesting dates. There are loads of available resources on garden planning out there but the #1 most important thing to remember when starting out is : KEEP IT SIMPLE. Gardening is very rewarding but there’s a lot to learn and it takes consistent effort. By starting small, you have a better chance of succeeding while building your skillset, instead of getting overwhelmed by the size of the project.
We know a lot of you want to grow food this year! A great way to keep it simple is to start with easy varieties with short growing cycles and/or high yields. Things like Beans, Beets, Lettuce, Peas, and Radishes are all considered “easy” garden crops and will have you harvesting early and often.
As part of your garden plan, determine which varieties must be started early indoors and get them going on time. Remember: dates are just a guideline. Mother Nature is calling the shots- not the calendar. Watch your local weather and tweak your plans if your region is experiencing unseasonably hot or cold weather.

Nothing beats the taste of a ripe tomato, fresh from the garden. [KPL courtyard garden 2019]
> preparing the area
SOIL:
Soil health is commonly overlooked by new gardeners. It can be a little funny to think about your soil as a living thing, but it is! Soil is the life force of your garden and it must be healthy for good results. Take a trip to your local garden centre or nursery and talk to them about your needs. What are you growing and where? This is especially important if you will be growing in containers, as your crops are limited to the nutrients you provide.
Cheap soil can be contaminated by disease, pests, and weeds. When it comes to soil, buy from a reputable supplier and don’t be reluctant to spend on quality.
Most vegetable crops are considered “heavy feeders” and draw a lot of nutrients from the soil. To protect your soil from being depleted of nutrients, incorporate compost and well-rotted manure into the soil once or twice a year. Do this by spreading it over the area in spring and fall. You can turn it gently into the soil but it’s not necessary. Rain and soil-dwelling organisms will work together to distribute the nutrients throughout the soil.
LAYOUT:
Make sure you have easy access to your garden. You should be able to weed and water comfortably, without compacting the soil or damaging your crops. For larger gardens, create designated walkways. Materials like stones, brick, gravel, untreated wood chips, or straw are great for garden paths.

We placed large garden stones throughout the garden to stand on while watering and harvesting
You’ll also want to make sure there is some shelter from wind and a handy water source.
If lugging water to your garden is a difficult task, you’ll probably avoid watering more than you should.
THE GROWING SEASON
> watering
Vegetables are thirsty plants! They need a constant, even supply of water. Mother Nature will lend a hand on rainy days but otherwise, your veggies are depending on you. Raised beds and potted plants need water every single day. They might even need to be watered twice a day during long dry spells in high summer. In-ground gardens can sometimes go longer between watering but you’ll still need to check the soil every day to assess the moisture level. Allowing crops to dry out even once can be detrimental. This is probably the most important aspect of growing vegetables, especially before plants are mature.
- Water deeply! The sun will evaporate moisture at the surface of the soil. Make sure you’re providing a good supply of water right down to the roots.
- The best time to water is early in the morning but late afternoon is okay too. Watering mid-day is a waste of time and water because it will evaporate faster than the plants can use it.
- Avoid watering from above. Instead, water low down at the base of your plants. Watering from above can lead to moisture-related issues and spread infection throughout your crops as the water drips onto nearby plants.
- Slow moisture evaporation from the soil by covering bare areas in a thin layer of natural mulch. Materials like untreated wood chips, fallen leaves, and straw are great choices. Bonus: natural mulches inhibit weed growth and provide shelter for pollinators and other beneficial insects like bees.

This basil started to develop some mildew on the underside of its leaves. We had to be extra careful not to water from above so it wouldn’t spread to the other leaves. [KPL courtyard garden 2019]
> monitoring for signs of trouble
Apart from watering, you’ll want to do a daily lap of your garden. As your crops grow, some will need to be supported. Tomato cages and wooden trellises are perfect but you can use whatever works. A real Canadian favourite is broken hockey sticks! Otherwise, overladen plants will fall over, producing misshapen fruit or maybe failing to produce at all.
Monitoring for signs of trouble from pests and disease is essential for catching issues before they spread. Learning how to recognize trouble in early stages is a skill that takes many years to develop. Be patient with yourself. As you learn, don’t hesitate to ask a green-thumbed friend or take photos into your local garden centre of nursery for guidance. You can also email photos to us! Our horticulture team is always happy to take a look.

We noticed holes in the leaves of this pepper plant and kept an eye on it. They never spread to nearby plants and the peppers themselves were unaffected. [KPL courtyard garden 2019]
> enjoying the process
Enjoy your garden! Set up a place where you can comfortably rest nearby. Get to know the critters, relax with a book and a lemonade, or get some work done. Spending time outdoors is proven to boost wellbeing. Be careful not to get into the habit of rushing through your watering and dashing off. Instead, allow yourself to slow down and linger in the space. By the end of the season, you might even feel a sort of camaraderie with your garden.

Critters like rabbits will eat some of your crops. There are plenty of strategies to keep them away, but many gardeners enjoy seeing them around and don’t mind sharing! [KPL courtyard garden 2019]
HARVEST
Your crops are now mature enough to begin harvesting! At this stage, your plants are full-sized and may be larger than you expected. Prune back areas where airflow is blocked. Humidity can get trapped in dense growth and cause all kinds of trouble.

Our Squash surprised us and totally took over! It was hard to get the whole plant in this shot! [KPL courtyard garden 2019]
> to maximize production
- Encourage new growth from herbs by pinching off the flowering buds to prevent them from going to seed.
- Vegetables like Beans, Peppers, and Tomatoes should be harvested regularly to encourage more growth. Pick mature fruits and pods promptly or else the plant will signal end of production.
- Succession crops like Beets, Lettuce, and Radish should also be picked promptly to free up the space for larger varieties or another sowing, depending on your garden plan.

We harvested 2 or 3 times a week and usually had more than we could give away! [KPL courtyard garden 2019]
> that’s a wrap!
Throughout the course of the season, expect a combination of successes and failures- that’s just the way it is! Even well-seasoned gardeners experience failures despite all their expertise! However, your successful crops will likely produce more than you’ll know what to do with! This excess is known as “bumper crops” and can be preserved for good eatin’ all year round.
After harvesting is complete and the growing season is over, you’ll have to do a little maintenance to get your garden ready for winter. Learn how to winterize your garden here.
Congratulations, you made it to the end! We believe you have what it takes to get growing this year! Don’t hesitate to get in touch with questions as the season goes on. Your success is important to us!
Special thanks to the Kitchener Public Library for inviting us to partner with them on this project! Show them some love on Facebook.
… one last thing just for fun 🙂
OSC STAFF SHARE THEIR “TOP-TIPS” FOR STARTING A VEGETABLE GARDEN!
“Make sure you’re working with clean, weed-free soil” – Doug
“Look into supplementing soil nutrition with bone and blood meal” – Richard
“Grow less at first” – James
“Don’t bury seeds too deep or they won’t germinate very well” – Deb
“Look up companion planting and keep enemies like Tomatoes and Cucumbers apart” – Ken
“Be flexible and don’t get too attached to your plan” – Bridgette
“Keep up with the weeds” – Sharon
“For the most rewarding harvest, pass on your garden knowledge to children” – Randy
… and the one thing every single person mentioned when asked: WATER EVERY DAY!
Good luck with your new gardens! We are cheering you on!
Tag us in your garden photos (@oscseeds) on Facebook and Instagram!
Stay up-to-date on all our news by following us on Facebook and Instagram!
All photos taken by Bridgette DeCoste at the KPL Courtyard Garden in 2019 and used with permission.